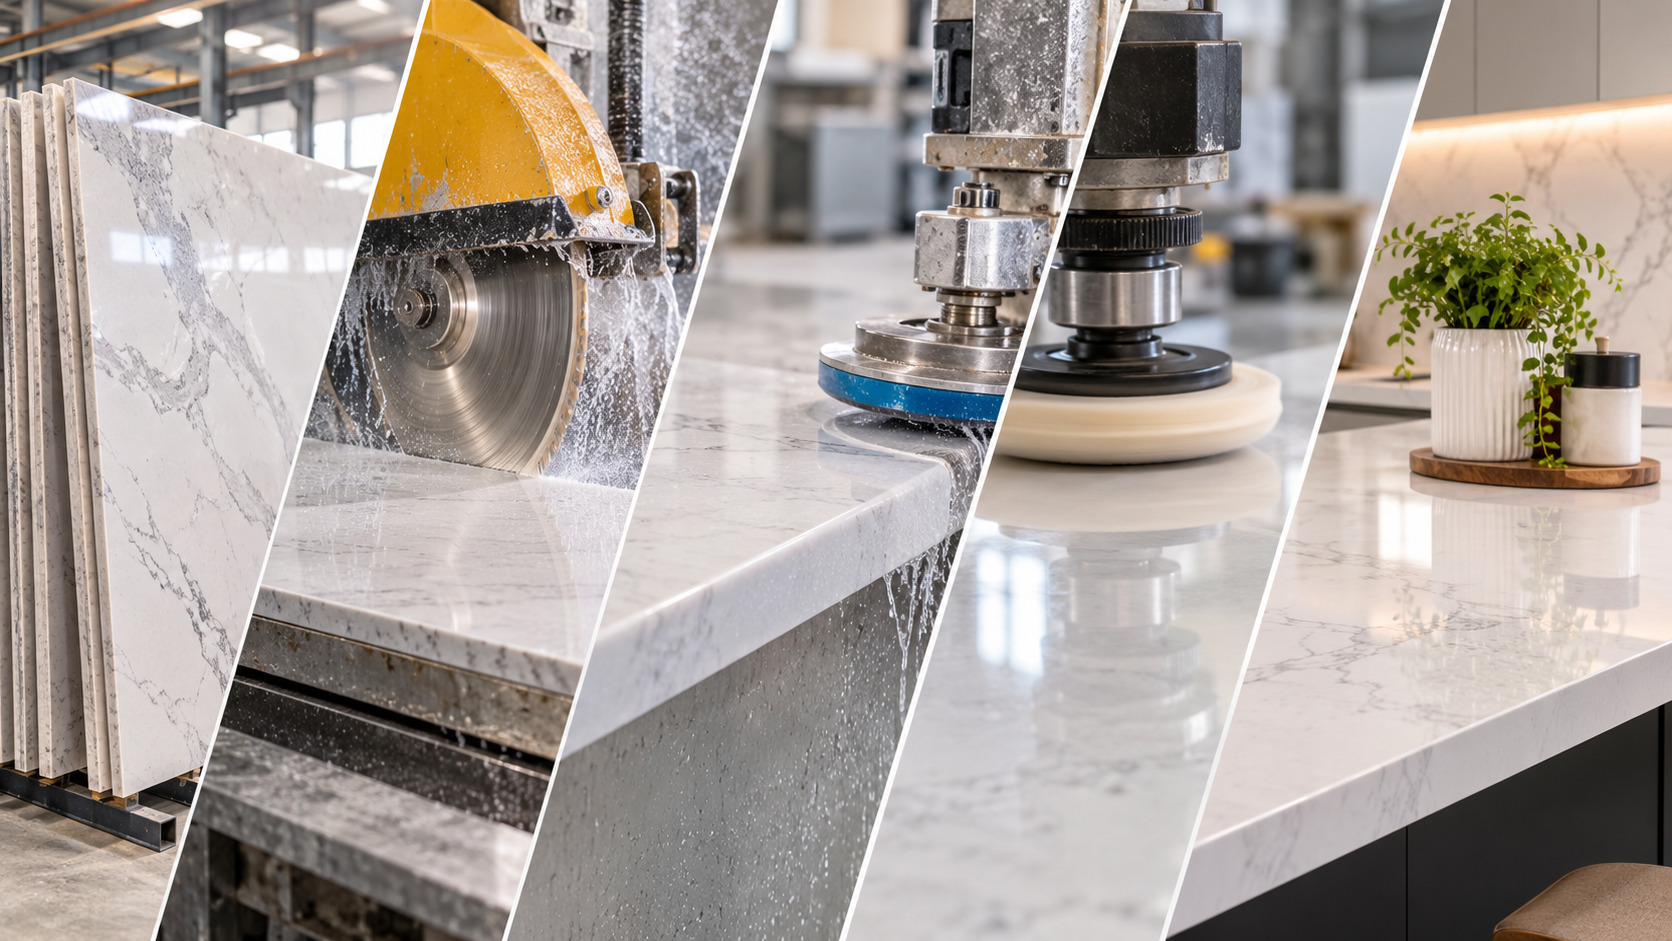
Most people judge a quartz countertop by its colour and pattern. They pick a slab from a sample board, admire the veining, and assume the hard part is done. In practice, the slab is only the starting point. A premium engineered quartz slab can still become a disappointing countertop if it is cut badly, edged carelessly or installed without proper support.
At Argil Tiles, we manufacture engineered quartz slabs in Morbi, Gujarat, with documented checks at the mixing, pressing and finishing stages. But we also know that what happens after a slab leaves the factory shapes how it looks and performs for the next twenty years. This guide walks through the journey from slab to finished surface and explains where quality is won or lost.
Why Fabrication Matters as Much as the Slab
Engineered quartz is made by blending roughly 90% pulverised natural mineral with about 10% polyresin and pigments, then pressing the mixture into dense, uniform slabs. That density gives quartz its resistance to stains, scratches and everyday wear. It also makes quartz hard to cut and finish. The same hardness that protects your kitchen top makes it unforgiving on poor tooling and rushed workmanship.
A well-made slab gives a fabricator the best possible raw material. A skilled fabricator turns that material into a surface that fits the room, handles daily use and looks seamless. If either link is weak, the result suffers. That is why buyers, designers and contractors should look at fabrication quality with the same attention they give to slab selection.
Step 1: Inspecting and Planning the Slab
Quality fabrication begins before any blade touches the stone.
Check the slab on arrival. Look at each slab under good light for chips on the edges, surface marks or colour variation between slabs. Confirm that the slabs come from the same production lot, especially when a project needs several of them. Lot consistency matters because shade and pattern can shift slightly between batches. This is one reason we plan supply by lot for larger projects.
Plan the layout. Experienced fabricators prepare a cutting plan, often called nesting, that places every countertop piece on the slab. A good plan does three things:
- It keeps veining and pattern flowing naturally across visible surfaces.
- It places seams in the least conspicuous locations.
- It reduces waste, which keeps project costs under control.
For patterned or veined designs, the plan should also decide whether the pattern runs in the same direction across adjoining pieces. Skipping this step often produces mismatched seams that no amount of polishing can hide.
Step 2: Cutting the Slab
Cutting is where most structural damage begins, and where much of it can be prevented.
Tooling and method. Quartz is cut with diamond-tipped blades or, in modern workshops, CNC machines and waterjets. Water is used during cutting to cool the blade, control dust and protect the material. Using the wrong blade, running it too fast or cutting without enough cooling can cause chipping, heat stress and rough edges.
Why precision matters. A cut that is off by even a couple of millimetres affects the fit against walls, appliances and adjoining sections. Sloppy cuts lead to wide gaps, uneven seams and extra filler.
Sink and cooktop cutouts. These are the highest-risk areas on any countertop. Sharp internal corners create stress points where cracks can start, especially around sinks and hobs that see heat and heavy loads. Good fabricators round the inside corners of cutouts with a suitable radius instead of leaving them square. They also avoid leaving thin, unsupported strips of stone between a cutout and the countertop edge. Where a design leaves a narrow section, the fabricator should reinforce it or adjust the layout.
CNC versus manual cutting. CNC equipment delivers repeatable accuracy for complex shapes, curves and identical pieces across multiple units, which suits hotels, apartment projects and commercial fit-outs. Manual cutting remains practical for simple straight runs and on-site adjustments, but it relies heavily on the operator’s skill.
Step 3: Edge Profiling
The edge is the most touched and most noticed part of a countertop. It frames the surface, and it is also the most vulnerable to chipping.
Popular Edge Profiles
- Eased (square) edge: A clean, modern edge with a slightly softened corner. It suits contemporary kitchens and is the simplest and most economical option.
- Bevelled edge: A small angled cut along the top edge. It adds subtle definition and reduces the sharpness of the corner.
- Bullnose (full and half): A rounded edge that feels soft and safe, a good choice for homes with children and for high-traffic spots.
- Ogee and decorative profiles: Layered, curved edges that suit traditional interiors. They need more machining and more skill.
- Mitred (waterfall) edge: Two pieces cut at an angle and joined to create the look of a thick, continuous slab. This is the most demanding profile, because pattern alignment and joint precision decide how convincing it looks.
What Affects Edge Quality
Sharpness of tooling. Dull profiling wheels leave micro-chips and a rough texture that dulls the polish.
Progressive polishing. A good edge is polished through a series of finer abrasive stages. Rushing this process leaves a hazy or uneven finish that stands out beside the polished top.
Edge thickness and design. Very thin or sharp edges chip more easily. For busy kitchens, a slightly softened or rounded profile is more forgiving over the long term.
Consistency of finish. The edge should match the surface finish, whether polished, honed or matte. A glossy edge on a matte top, or the reverse, looks like a mistake.
Step 4: Seams, Joints and Bonding
Few kitchens fit on a single slab, so most countertops include at least one seam. A well-made seam is almost invisible. A poor one becomes the first thing visitors notice.
Seam placement. Seams belong in low-stress, low-visibility areas, away from sink cutouts and cooktops where possible. Placing a seam across a cutout corner is one of the most common causes of later cracking.
Colour-matched adhesive. Fabricators use resin-based adhesive tinted to match the slab. Matching the adhesive to the colour of the slab is a skilled job, particularly with veined or multi-tone designs.
Tight, flush joints. The two pieces must sit perfectly level, with the thinnest possible gap. Clamping and levelling during curing keep the joint flat so there is no lip you can feel with a fingertip.
Polishing the joint. After curing, the excess adhesive is removed and the seam is blended into the surrounding surface. A good result shows a fine line rather than a visible trench.
Step 5: Support, Installation and Site Handling
Even a perfectly fabricated top can fail if it is installed poorly.
Cabinet and substrate readiness. Cabinets must be level and strong enough to carry the weight of a quartz top. Uneven bases force the stone to flex, which can cause stress cracks over time.
Proper support at overhangs. Breakfast bars and extended overhangs need brackets or corbels once the overhang goes beyond what the slab thickness can safely span. Unsupported overhangs are a common cause of breakage when someone leans or sits on the edge.
Careful handling. Quartz is heavy and can snap when lifted flat or carried unevenly. Fabricators and installers should carry long pieces on edge, with enough hands and proper lifting equipment. Many hairline cracks blamed on the material actually begin during transport.
Expansion gaps and heat. Leave small gaps where the top meets walls and avoid fixing it rigidly in every direction. Using hot pans directly on any quartz surface is not recommended, as sudden temperature change can cause stress. Trivets are a cheap and sensible precaution.
Sealing and finishing. Sealants around sinks and backsplashes keep moisture out of the joints and protect the cabinet below.
How to Spot Good Fabrication
You do not need to be a stone professional to judge workmanship. Check these points before accepting a finished job:
- Run your hand along the edge. It should feel smooth and consistent, with no chips, rough patches or waves.
- Examine the seams. They should be tight, level and close in colour to the slab.
- Look at cutout corners. Inside corners should be rounded, not sharp.
- Check the finish match. Edges, tops and splashbacks should share the same polish level.
- Press on overhangs. There should be no movement or flex.
- Look at the alignment of pattern. Veins should flow sensibly across seams and waterfall joints.
- Check the fit. Gaps against walls and appliances should be small and even.
How Argil Supports Better Fabrication
Good fabrication starts with a good slab, and that is where we focus our effort. Our Morbi plant produces engineered quartz with consistent colour, finish and thickness within each lot, backed by ISO-certified processes and documented checks at each production stage. Consistent slabs make life easier for fabricators, because they can plan cuts, align patterns and match seams with confidence.
For larger projects, our team can advise on sizes, thickness, edge options and finish before an order is packed. We also plan packing and crating for long routes, and we share documents and lot photographs after dispatch so that fabricators and site teams know what to expect. If you are specifying quartz for a kitchen, vanity, hotel or retail project, it helps to lock thickness, edge and finish early and confirm them against a sample board.
Final Thoughts
A quartz countertop is the combined result of material quality, fabrication skill and careful installation. The slab gives you the colour, the density and the potential. Cutting decides how accurately it fits. Edge profiling shapes how it looks and how well it resists chipping. Seams and support determine whether it stays beautiful for decades.
When you plan your next project, ask about the fabricator’s tooling, their approach to cutouts and seams, and how they handle and install the stone, as well as the price per square foot. Choose a trusted slab manufacturer, work with a capable fabricator, and your quartz surface will keep looking good long after the installation dust has settled.
Ready to explore quartz for your project? Browse the Argil Quartz Collection, download our catalogue, or contact our team at info@argiltiles.com to request samples and a quote.